Overriding the HP printer’s cartridge, in simple words, means removing all the cartridges that are in the printer and then installing them again after a while. HP Printer Cartridge Error can occur when the protective strips are not removed by you. HP Cartridge protection may also have been enabled that can cause this error. There can be an internal memory reset needed for your HP printer to fix the cartridge error. The cartridge error in the HP printer can be fixed by cleaning all the metal contacts of the printer. Another method for resolving this error can include replacing your old cartridges with new ones. You can also try updating the software of your printer.
If you want to know more about how to bypass the HP printer cartridge error, then you can go through this post. We have listed all the causes and the fixes for this error here.
Causes of the Hp Incompatible Print Cartridge Error
There can be various reasons for the incompatible error on your HP printer. The presence of dirty metal contacts in your printer, low ink of your cartridge, etc., are some of these reasons.
Below, we have listed a more detailed explanation of all the causes of the HP printer cartridge error:
Need for Internal Memory Reset: The HP printer will find out by itself if there is a need for resetting its internal memory. There may also be a need for the installation of a new cartridge. Sometimes, the printer does not check if there is a need for a memory reset. Thus, it causes cartridge errors in HP printers.
Damaged Metal Contacts Stop Data from being Read by the Printer: There are a number of metal contacts in the ink or toner cartridge that allow communication to occur between the cartridge and your printer. Dirt or damage to the metal contacts can stop this communication.
Cartridge Protection in HP Printer is Enabled: If the cartridge protection is enabled then it can stop the compatible version of the firmware to work with the printer. This option can also be turned off to prevent cartridge problems.
Incorrect Installation of the Toner Cartridge: There might be a slight chance that you have put colour ink or a toner cartridge into the incorrect slot. You may have also purchased the incompatible model of the cartridge with your printer. An incompatible version of the cartridge can also be the next major reason behind this issue.
HP Printer Software Update may have Rendered the Chip Data Useless: This can be one of the main reasons for the compatible toner to not work with your printer. The software updates can fix the bugs. Hence, it may be stopping the compatible cartridges from working in your printer and system. In the HP Envy 4500 Printer, the ink cartridge error can occur due to this reason.
How Do You Fix the HP Printer Cartridge Error?
You can resolve the cartridge error in HP Printers by removing all the protective covers and strips, updating the firmware, cleaning all the metal contacts, etc. These simple actions will remove the causes leading to the issues with your device’s cartridge.
You must be wondering how to carry out these measures to fix the HP Printer Refill cartridge error on your own. Below listed are the detailed HP Incompatible Print Cartridge error fixes and their guidelines.
Fix 1:
Resetting the Printer Memory
You can reset the printer’s memory by removing your new cartridge and replacing it with the old one. Leave the printer idle for some time. Then replace the old toner cartridge with the new one. This process is effective in fixing the HP printer refill cartridge error.
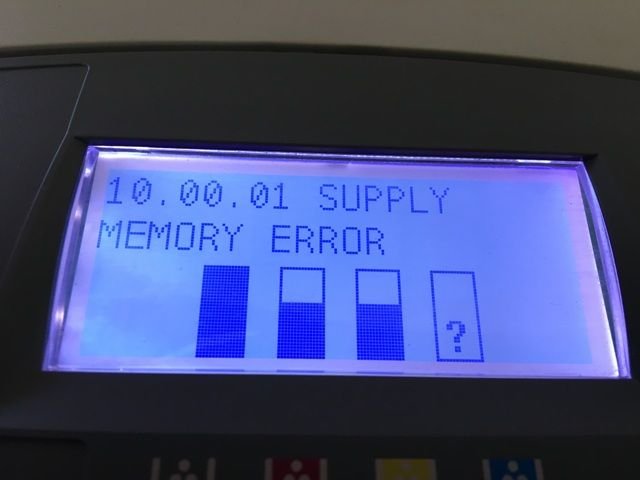
If the HP Printer displays an error message that the print cartridge is missing or not detected, then follow the below instructions step-by-step:
- Remove the color ink or toner cartridge from your printer and place it on a clean surface. Make sure the cartridge won’t get damaged or dirty.
- Then turn your HP printer off for a while.
- Unplug your printer from the power source. This is done to ensure that the printer is turned off as some printers remain in sleep mode if not turned off from the source.
- Let the printer stay off for some time.
- Plugin your printer to the power source.
- Carefully insert the new cartridge.
- Press the “Power” button to turn on your printer.
This fix may have resolved the cartridge error. If the error message still shows up, then you can try the next fix.
Fix 2:
By Cleaning the Metal Contacts
You can find the metal contacts at the back of your toner cartridge or at the back of the ink cartridge. It may look like a flat board of copper or a circuit board. These parts should be kept clean for escaping a range of errors just like the HP OfficeJet printer cartridge error.

Here are the steps through which you can clean the metal contacts:
- At first, turn off your printer and unplug it from the wall.
- Remove the toner cartridge carefully. Place it on a safe surface.
- Look for the metal contacts with the cartridge.
- Check the inside of the printer also where the connection point will be located.
- Use a dry cloth to gently wipe the contacts from the printer and on the cartridge.
- Remove any residue on the cartridge. Make sure you do not cause any damage.
- Replace the cartridges in your printer.
Note: The cartridges for inkjet printers must be removed before turning off the printer.
Fix 3:
Remove All the Protective Covers

Ensure that all the protective strips and covers are removed from your new cartridge before you install it. The instructions to do so can be found on the box of your device. After learning how to remove the protective strips, you have to do the needful. Later, you can try using your printer. Ensure whether or not the HP OfficeJet 5510 print cartridge error can be seen.
Fix 4:
Compatible Cartridge for your HP Printer

In this fix, we will suggest you check that the cartridge of your HP printer is compatible. Make sure that you have purchased the correct version of the toner cartridge for your printer and your desktop. If you have purchased a new drum or maintenance unit, ensure that it is also a compatible version. Ensuring each of these will help in removing the scope of the cartridge error on HP printers.
Fix 5:
Updating the Firmware of Your HP Printer
There might be also a possibility that the firmware you are using is of an older version. You can update the printer software and the firmware. To update it, you will have to visit the official site of your printer. After locating the updates, you can press Upgrade Now to proceed.
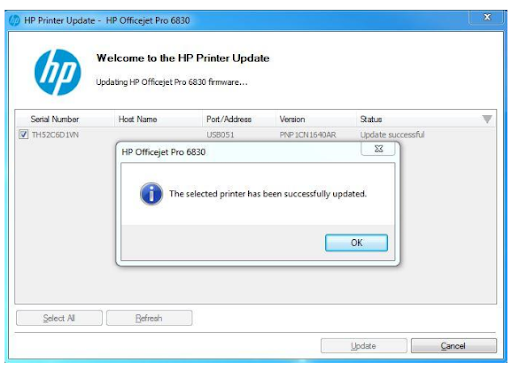
We have listed all the instructions through which you can update the firmware. You can find them as follows:
- Go to the HP printer’s official site.
- Choose your printer model and click on the “Upgrade Now” option.
- Find the updated version of the “Firmware” file.
- Click on the “Download” button.
- Select the desired location where you want to save the file.
- You can update the firmware from the preboot menu which you would find in the “Control Panel”.
- Choose the “Administrator” option.
- Select “Download” from the list.
- Click on the “Ok” button.
Note: After you are done with the above steps, there will be a message stating that the process is complete on your printing device. The HP printer will restart by itself. You can check the firmware version by printing a configuration page.
Fix 6:
Check the Paper
For doing away with the cartridge error on devices like HP envy 4500, HP OfficeJet 5510, and HP PhotoSmart C4480 Printers, you need to check the paper that you are using. Additionally, you need to ensure that the paper has been correctly loaded.
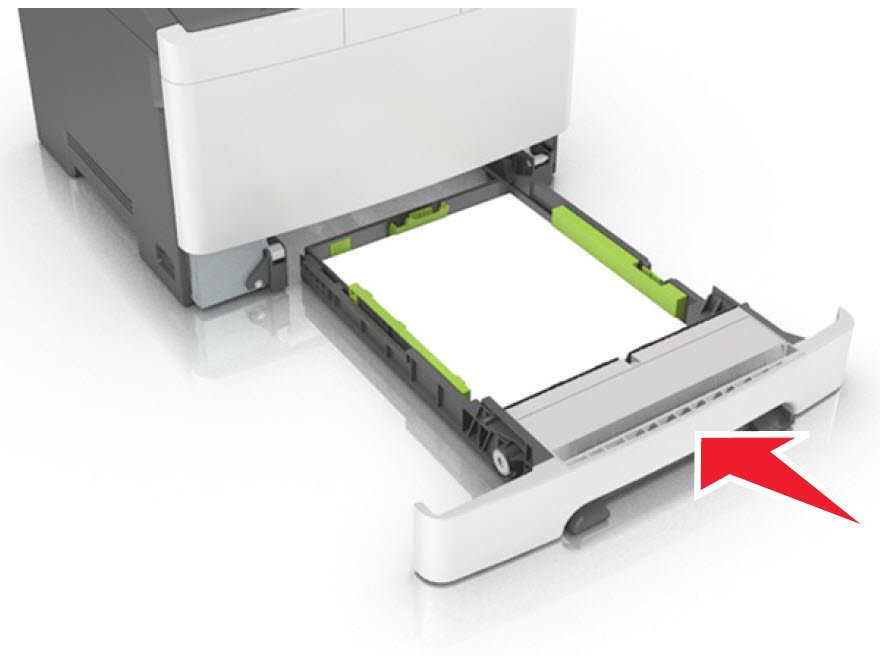
You need to load the printer in the correct manner with the correct paper type. You can follow the given steps to insert the paper properly.
- Load the paper on the smoother side, generally, it is the print side. The non-print side may have the logo of the paper manufacturer on it.
- Use wrinkle-free paper.
- You may use plain paper with “ColorLok” technology for printing text documents.
- For printing high-contrast graphics you can use “Advanced Photo Paper”.
Note: The usage of unsupported paper may cause vertical streaks while printing.
Fix 7:
Replacing Empty Ink Cartridges
Low or empty ink cartridges can cause cartridge error in HP Officejet 5510 Printer. To know whether or not a replacement is needed, you can start your device and access its scanner lid. From here, you can access the cartridge. When the cartridge stops producing any sounds and is at rest, its slot can be lifted. Henceforth, you can continue with the procedure to replace it.
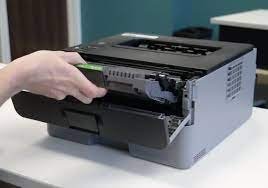
You can easily replace the empty cartridges by going through the following steps:
- Turn on your printer.
- Open the scanner lid.
- Then open the cartridge which moves to the cartridge access area.
- You must wait till the carriage is idle and silent.
- Lift the lid on the cartridge slot, and push it back until it does not go any further.
- Pull the cartridge and remove it from the slot.
- Remove the packaging from the new cartridge.
- Hold the cartridge at a slightly upward angle. The contacts of the cartridge should face the rear of the printer.
- Slide the cartridge in the empty slot.
- Close the lid, after making sure that the new cartridge is in place.
- Close the access door of the cartridge and the scanner lid.
After following the above-mentioned steps, try to print a test page to make sure that the cartridge has been properly inserted.
To Wind Up
After going through this article, you came to know about the causes of the HP Printer cartridge error and its fixes. The causes of this error can include the incorrect installation of the toner cartridge, the need for the internal memory reset, not removing the protective covers, and so on. The fixes to the cartridge error require you to clean the metal contacts, remove the protective covers, refill the low ink cartridges, and reset the internal memory of the printer. We hope that we are able to solve this error for you. If you want to face HP Printer In Error State issues? So, contact our tech experts and let them handle it.
