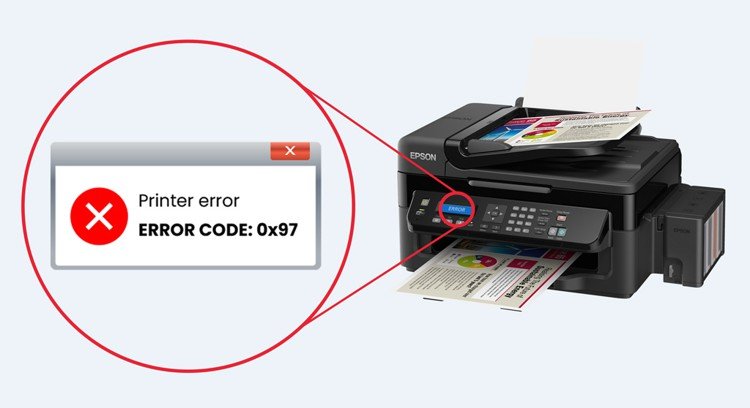
The Epson error code 0x9a is among those problems that can prevent you from using your printer. Faulty hardware is one of the main causes of it. There are other causes too behind this printing problem. On several models of Epson printers such as WF 3640, WF 7620, etc., this error can be found. To fix the Epson WF 7620 error code 0x9a, you can first clean your device. Additionally, you can check its carriages and the strips installed within it. Doing so can help in fixing the issue on your Epson machine. To know more fixes like these and how to implement them, you can read further.
What is Epson WF 3640 Error Code 0x9a?
The error code 0x9a in Epson 3640 Printer and other models can be seen as a notification that tells that there is some problem with the device. It usually occurs in the printing process. When this error occurs, your device may be unable to print.
How is the Error Code 0x9a on Epson Printers Caused?
Here’s a list of all the probable causes of the Epson WorkForce 3620 error code 0x9a:

- This error may come up due to the faults in the carriages that can be a result of an obstruction caused inside the printer.
- Another probable reason for error code 0x9a can be the small pieces of paper or debris that may be stuck in the paper tray.
- Misplaced printer assembly, and bent or damaged rails can also be the potential cause of this error code.
- A dirty encoder strip installed in the printer may also be the cause behind this issue.
- Some other reasons may also include defective hardware, faulty printhead, faulty control board of the printer, broken motor, and so on.
Now, you are familiar with the causes of the problem, let us look at the ways through which you can rectify the error code 0x9a.
Fixes of Epson Error Code 0x9a
The effective ways that you can use to resolve this error include simple methods like cleaning the printer thoroughly, ensuring that no debris or pieces of paper are there in the printer’s carriage, cleaning the encoder strip, and resetting the printer.
Below we have provided a detailed explanation for all the above-stated methods.
Fix 1:
Cleaning the Epson Printer
First, you have to make sure that all the printing jobs are stopped and no jobs are still in the processing state. Open the top cover of the printer and check for any paper pins, stapler pins, bits of paper, dirt, debris, etc. Then gently pull out the stuck objects and restart your printer.
Please follow the step-by-step instructions provided below to clean your Epson device:
- Cancel all the printing jobs that are in the queue.
- Open the cover of your Epson printer.
- After you have removed the top cover, look out for any pieces of paper, dirt, stapler pins, and debris.
- Then pull the objects that are stuck in the output tray and the sheet feeder.
- Lift the scanner unit up and remove the jammed paper, if any.
- Lower the scanner unit and press the “Power On” button.
- Load all the paper sheets in the paper tray.
Note: Load the paper on the smooth side facing downwards, this is usually the printing side of the paper.
After you have correctly loaded the paper, take a test print job to ensure that the error has been rectified.
Fix 2:
Check the Carriage of the Printer
Remove the top cover of your Epson printer and ensure that the carriage is moving automatically. If the carriage is not moving, then try to manually move it. Try blowing compressed air inside the printer compartment. Put the lid back on and restart your printer. The error code 0x9a should have been resolved by now.
Fix 3:
Cleaning the Encoder Strip
The encoder strip is a strip made of plastic in the printer carriage which is used to read its speed and position. This error code generally occurs when the encoder strip is dirty. Hence, you need to clean the encoder strip to fix the 0x9a error.
We have given a detailed explanation about how you can clean the encoder strip here:
- Turn off your printer and unplug it from the power source.
- Lift the top lid of the printer.
- Use a cleaning cloth soaked in a clean ink solution.
- Wipe the leftover ink along the encoder strip leaving the printhead.
- Make sure that the ink does not drip in the printer while cleaning it.
Note: Do not rub or pull the encoder strip with force, it can cause damage to it. Hence, leading it to incorrectly function.
Fix 4:
Resetting the Printer
Resetting the Epson printer can be one of the fixes for this error code. It resets everything back to the way it was before you made any changes. After you have turned your printer off, let it cool down for 5-10 minutes before turning it on again.
In case you don’t know the right way to reset your printer, you may follow these instructions:
- Turn off your Epson device and remove the power cord from the power source.
- Keep your printer turned off for some time before turning it on.
- After you have turned on your printer, press and hold the “Power” button for a minute in order to drain any residual power in the printer.
- You may also press and hold on the “Stop”, “Left Arrow key”, “Home”, and “On” keys simultaneously on your printer machine. Ensure that you keep these buttons pressed until the printer completely turns off.
- Plug in the power cable of the printer in the power source.
- When your printer turns on, you will see a message displaying “FW Update Mode”.
- Choose the “Update Devices” option from all the list of options that you see.
- Press on the “Firmware” option and then tap the “Update” button that you see below the screen.
- A bar showing the progress will appear on your screen informing you about the firmware reset.
- As the screen is displaying the firmware reset information, press on the “Ok” option in order to turn off your Epson printer.
- You will see a red-colored triangle button on your printer labeled as “Stop”. Press this button.
- After pressing the “Stop” button, press the “Left Arrow” key.
- At last, click on the “Home” button that you see on the left side of the printer’s screen to go back to the main menu.
Your problem might have been fixed by now and you can also check it by taking a test print.
Fix 5:
Use a Repair Utility Tool
The Epson error code 0x9a Repair Utility Tool can come to your rescue in fixing the issue. You can download it through the internet and install it in your system. After you have successfully installed it, let it scan your printer. When the scanning process is complete, press on the Fix option.
You can easily download and fix the error using the repair utility tool by going through these steps:
- Open your web browser and find the “Repair Utility Software” for Epson Error code 0x9a.
- Download the tool from a reliable website.
- For making the process faster, save the setup file of the tool on the desktop.
- Double-click on the “Setup” icon to open it.
- Complete the installation process by following the on-screen instructions.
- After the software is installed in your system, open the Repair Utility software and click on the “Scan” option.
- When the process of scanning is finished, you will see a button of “Fix Error”. Click on it.
- Restart your system once when the fixing process gets completed.
Fix 6:
Restore Your PC Settings
If the error has not subsided by now, then you may try restoring your system settings before you made any changes.
You can restore your PC settings manually by following the instructions given below:
- Turn off your PC for some time and then turn it on again.
- Sign in from the “Administrator” account.
- Go to the “Start” menu and then open the “Control Panel”.
- Look for the “Backup and Restore” option and click on the “System Restore” button.
- Then, choose a time before you made any changes in the system and select “Restore My Computer”.
- Click on the “Next” button to begin the restoration process.
- After the restoration process is over, reboot your computer.
The error code 0x9a on the Epson printer may have resolved by now and your device will now be normally functioning.
Summary
To wind up this article, we can say that you learned the causes and fixes of the error code 0x9a in your Epson device. The causes of this particular error can be the use of defective hardware, the clogged cartridge of the printer machine, broken motor, dirty encoder strip, pieces of paper stuck in the paper tray, and so on. The ways to fix this issue are thoroughly cleaning your printer and your desktop, cleaning the dirty encoder strip, and fixing your printer using a repair utility tool. We expect that this article was of great help to you and you were able to clear this error after reading this. Here, you can also find here a detailed guide to fix Epson Printer in Error State.
