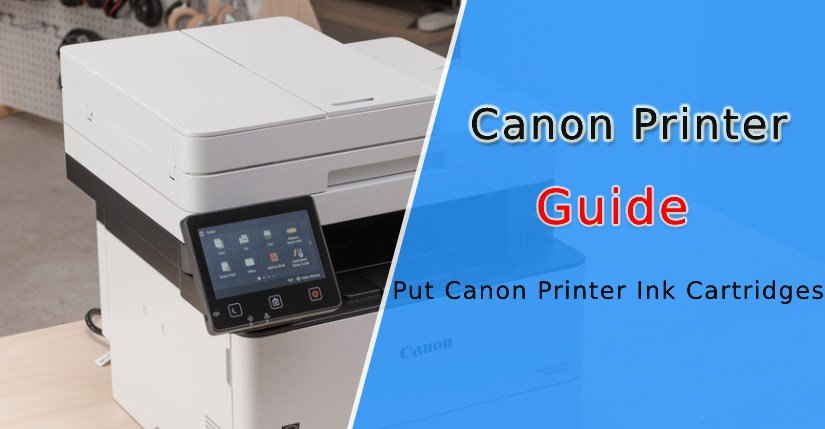
The Canon printers are the state of art printing machines. Everything about them is so great. The prints are top notch, the number of prints is unmatched, and the color reproduction in the prints is just amazing. All this is built into a compact form factor which makes the Canon printer ideal for printing at home as well as in the office.
But, the changing the ink cartridges and refilling is a nasty task until you know the exact way. Canon printers give you prints more than any printer on the planet but at some point, the Canon printer also runs out of fuel. If you don’t have any local handyman nearby, then you have to do this job on your own.
If you know the right technique of changing and putting ink in cartridges, you can get back on printing ways easily. The cartridge changing procedure is almost same for all Canon printers including the Pixma series, the Maxify series, the I series, and the image PROGRAF pro series.
Follow the below-mentioned steps to refill the ink cartridge or to change the cartridges:
STEP 1: Retract the paper output tray and extension inside of the printer. The cover won’t open without doing this.
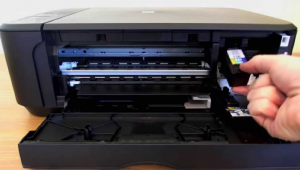
STEP 2: Once the paper output tray and extension are inside of the printer, pull out the cover. The cover is on the front side of the printer. Pulling out the cover will expose the inside of the printer. Don’t touch the ink cartridge holder while it is moving.
STEP 3: Unseal the new cartridges. Don’t touch the ink nozzles and the sensor.
STEP 4: Pull out the empty cartridges and install the new ink cartridges firmly. The black cartridge goes into the right slot. The color cartridge goes into the left slot. Install gently so that the cartridge doesn’t hit the terminal. Raise the ink cartridge until it clicks into place.
STEP 5: Gently nudge the ink cartridges just to check that they sit in their respective places firmly.
STEP 6: Close the cover. After this, the “on” lamp flashes in green for about 1 minute and then stays lit. Make sure to install the cartridges properly. If the cartridge is not properly installed, a yellow light instead of green will blink. In such a case, open the cover and reinstall the cartridges.
This concludes the ink cartridge installation for Canon printers.

I changed and put the canon ink cartridges by powering off the printer. The ink cartridge was at the corner of the printer so i pulled it to the middle and replaced the cartridge. Everything is seated in its position and the printing is good. What i am worried is for each ink cartridge change do we have to forcefully pull out the ink cartridge carrier and replace them? Because i used some force to get the ink cartridge out and felt that it was not the right way to replace them.